- In your HubSpot account, click the settings icon in the main navigation bar.
- In the left sidebar menu, navigate to Website > Blog.
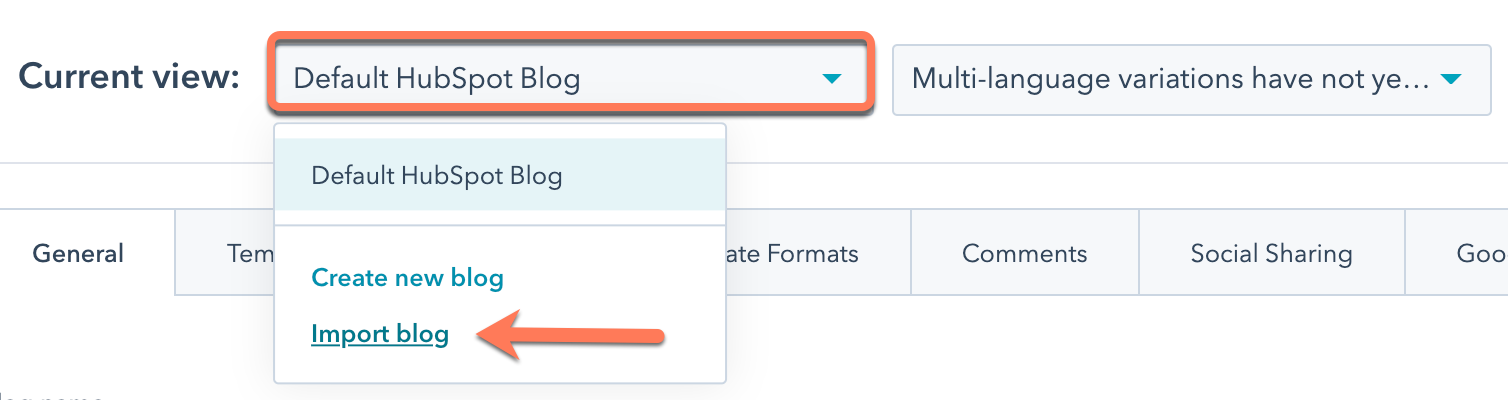
- In the Current view section, click the first dropdown menu and select Import blog.
- On the import overview page, click Import new blog in the top right. If you've already imported a blog, click the Start new import dropdown menu instead and select Blog posts.

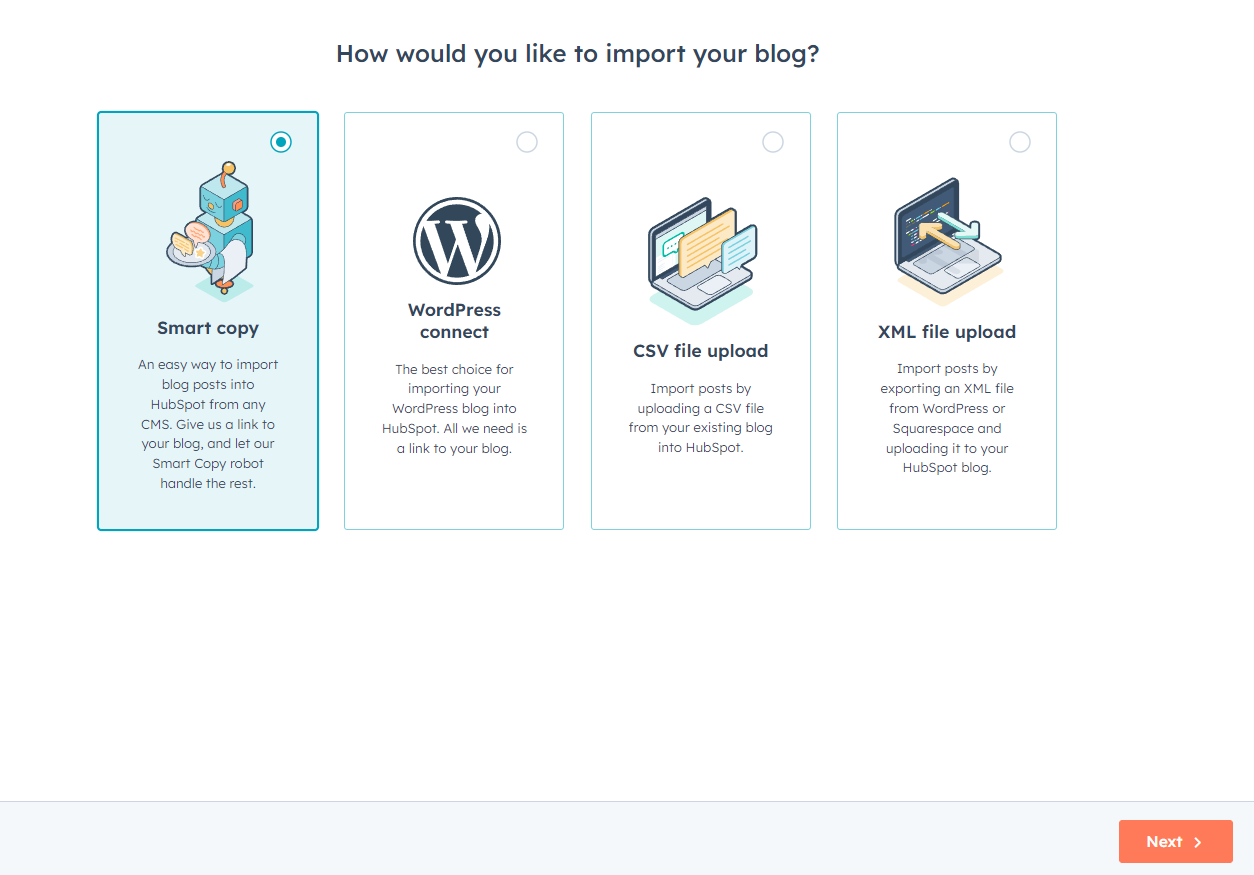
- Select the Smart copy option, then click Next.
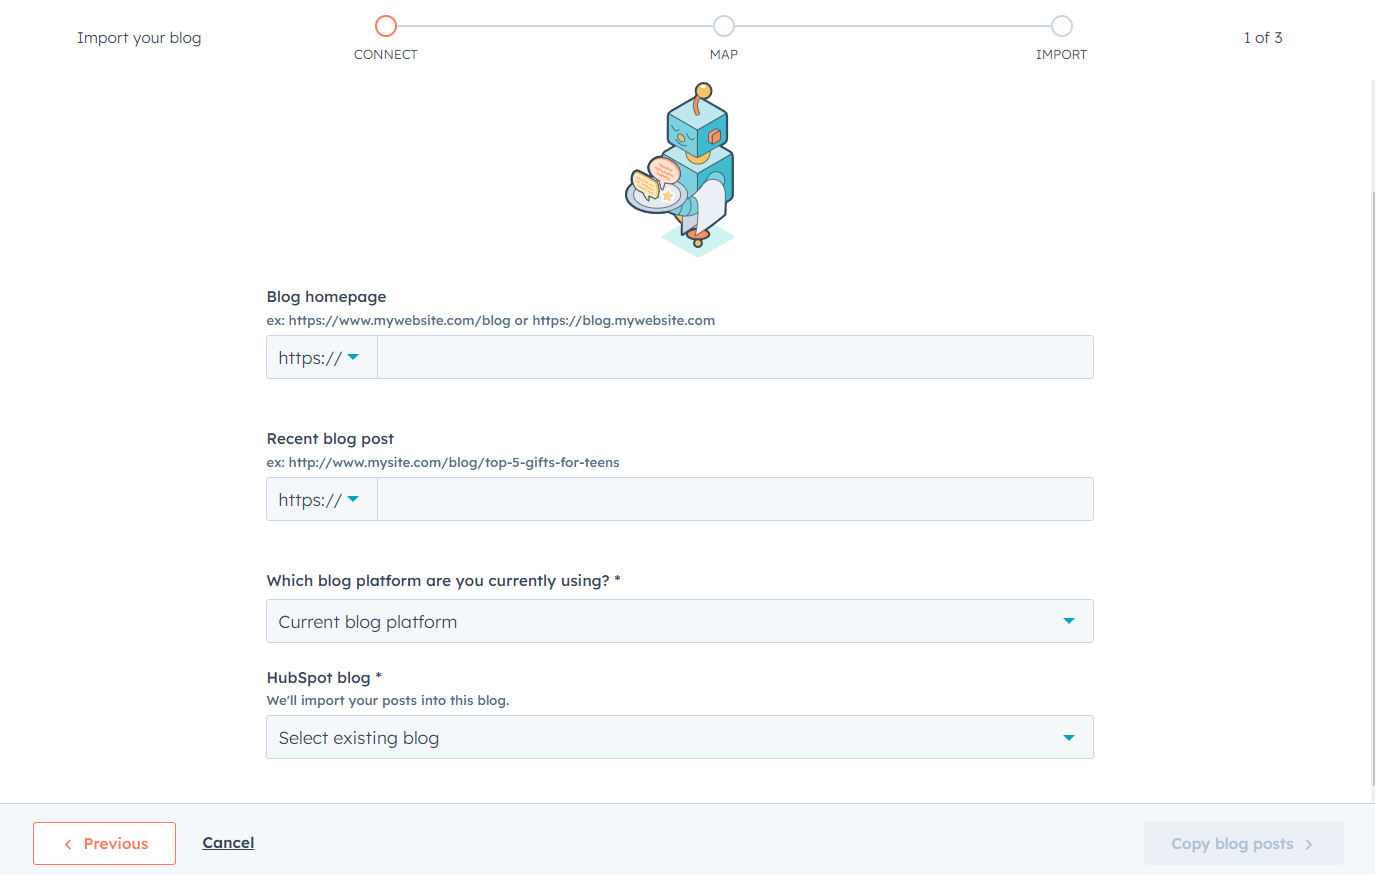
- In the Blog homepage field, enter the URL of your blog's listing page.
- Click the Which blog platform are you currently using? dropdown menu and select your blog platform. If you don't know which platform hosts your blog, select I am not sure.
- Click the HubSpot blog dropdown menu and select the blog where the imported posts will be hosted. If you need to create a new blog, click Create new blog instead.
- In the lower right, click Copy blog posts.
Review your blog post mappings
After the tool has finished scanning your blog posts, you'll see Scan completed in the Status column. If your blog encountered any errors or hit the limit of 10,800 pages, you'll see details about your import in the Status column. To import more than 10,800 pages with the blog importer tool, import an XML file instead.
To finish the import process, click Review results to confirm the mappings for your blog content. The smart copy tool will suggest any field mappings it can find, based on the content of your live blog post.
For each field, select the correct value from those listed or click Find the [field] with a CSS selector:
- Title: select the title of the blog post. This is a required field.
- Author: select the author of the blog post. This is a required field. If you prefer to not display your blog post authors, you can select Author isn't displayed, use "Admin" instead. You can customize this default value before you import your posts.
- Publish date: select the publish date of the blog post. This is a required field. If you prefer to not display your blog post publish date, you can select Publish date isn't displayed, use [today's date] instead. You can customize this default value before you import your posts.
- Featured image: the tool will identify any images in your blog post body that might be the featured image. Select the featured image for this blog post to tell the smart copy tool where to locate the featured image for the rest of your posts. To avoid importing featured images for your blog posts, select Featured image isn't displayed, don't import it.
- Post body: the tool will display a preview of the post body. If the displayed text isn't correct, click No, see another choice. This field is required.
- Categories/Tags: select the categories or tags applied to this blog post. If you don't want to import the categories or tags of this blog post, select Category/tag isn't displayed, don't import it.
To scan a different blog post as the source for your blog import, select Change URL and enter a new blog post URL. This will restart the field mapping process.
Finish your import
After your mappings are completed, your blog import status will change to Preparing posts for import. You can now review and finalize your blog import.
- In your HubSpot account, click the settings settings icon in the main navigation bar.
- In the left sidebar menu, navigate to Website > Blog.
- In the Current view section, click the first dropdown menu and select Import blog.
- On the import overview screen, click Review results next to the import.
- To customize default values set during the field mapping process, click Change default values at the top of the table.
- Click Preview to see a preview of your blog post content, a listing of the values the importer tool identified for that post.
- All blog posts are selected for import by default. Clear the checkbox next to any blog posts that you want to omit from your import.
- After you've finalized your selection, click Import.
- In the Publishing status dialog box, select whether to import these blog posts as drafts or as live published posts. Then click Save.
Your blog import will update to Import in progress status. Once the import is complete, the status will update to Import completed.
If there are any errors during the import process, the status will update to Import succeeded with some errors. You can review the details by clicking More > View details. If you retry the import process with a new blog post link, any errors from the original import will be reset.