If you haven't set up your site's navigation menus yet then follow the step below.
Step 1)
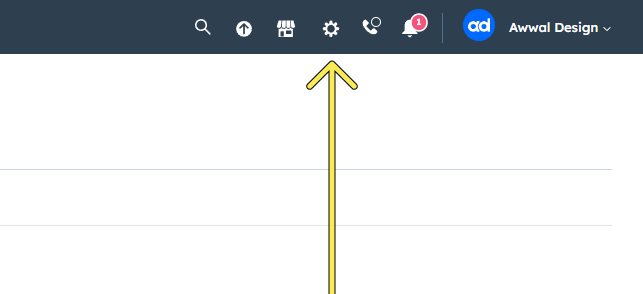
In your HubSpot portal, click the Settings icon in the main navigation bar.
Step 2)
In the left sidebar menu, go to Website > Navigation.

Step 3)
Click the dropdown menu to select an existing menu to update or create a new one. To create a new menu, click + Add menu.

You've created your new menu! Now let's add some links to it.
Step 4)

You can add a few types of links — choose whatever suits you the best.
- Add item without link: adds another item to your menu that doesn't link to an existing page. This is often used as a placeholder for child menu items.
- Add page link: adds a menu item that links to a specific HubSpot page.
- Add Page link with URL parameter: adds a menu item that links to a specific HubSpot page. With this option, you can type to enter the exact URL of the page you want.
- Add URL link: adds a menu item that links to an external URL.
Step 5)
Once the item has been added — Add a label on the left side and add a URL on the right side or select the internal page.

Some helpful tips:
- You can drag and drop items to rearrange your menu.
- To create a submenu (drop-down menu or flyout submenu) hover over the right side of an existing item and click Actions > Add child item below. This will create a submenu.
Once you've added all your links, simply click Publish and you've successfully created your first menu!
Follow this article to learn how to add this menu to your blog template